Crochet Ribbing Pattern
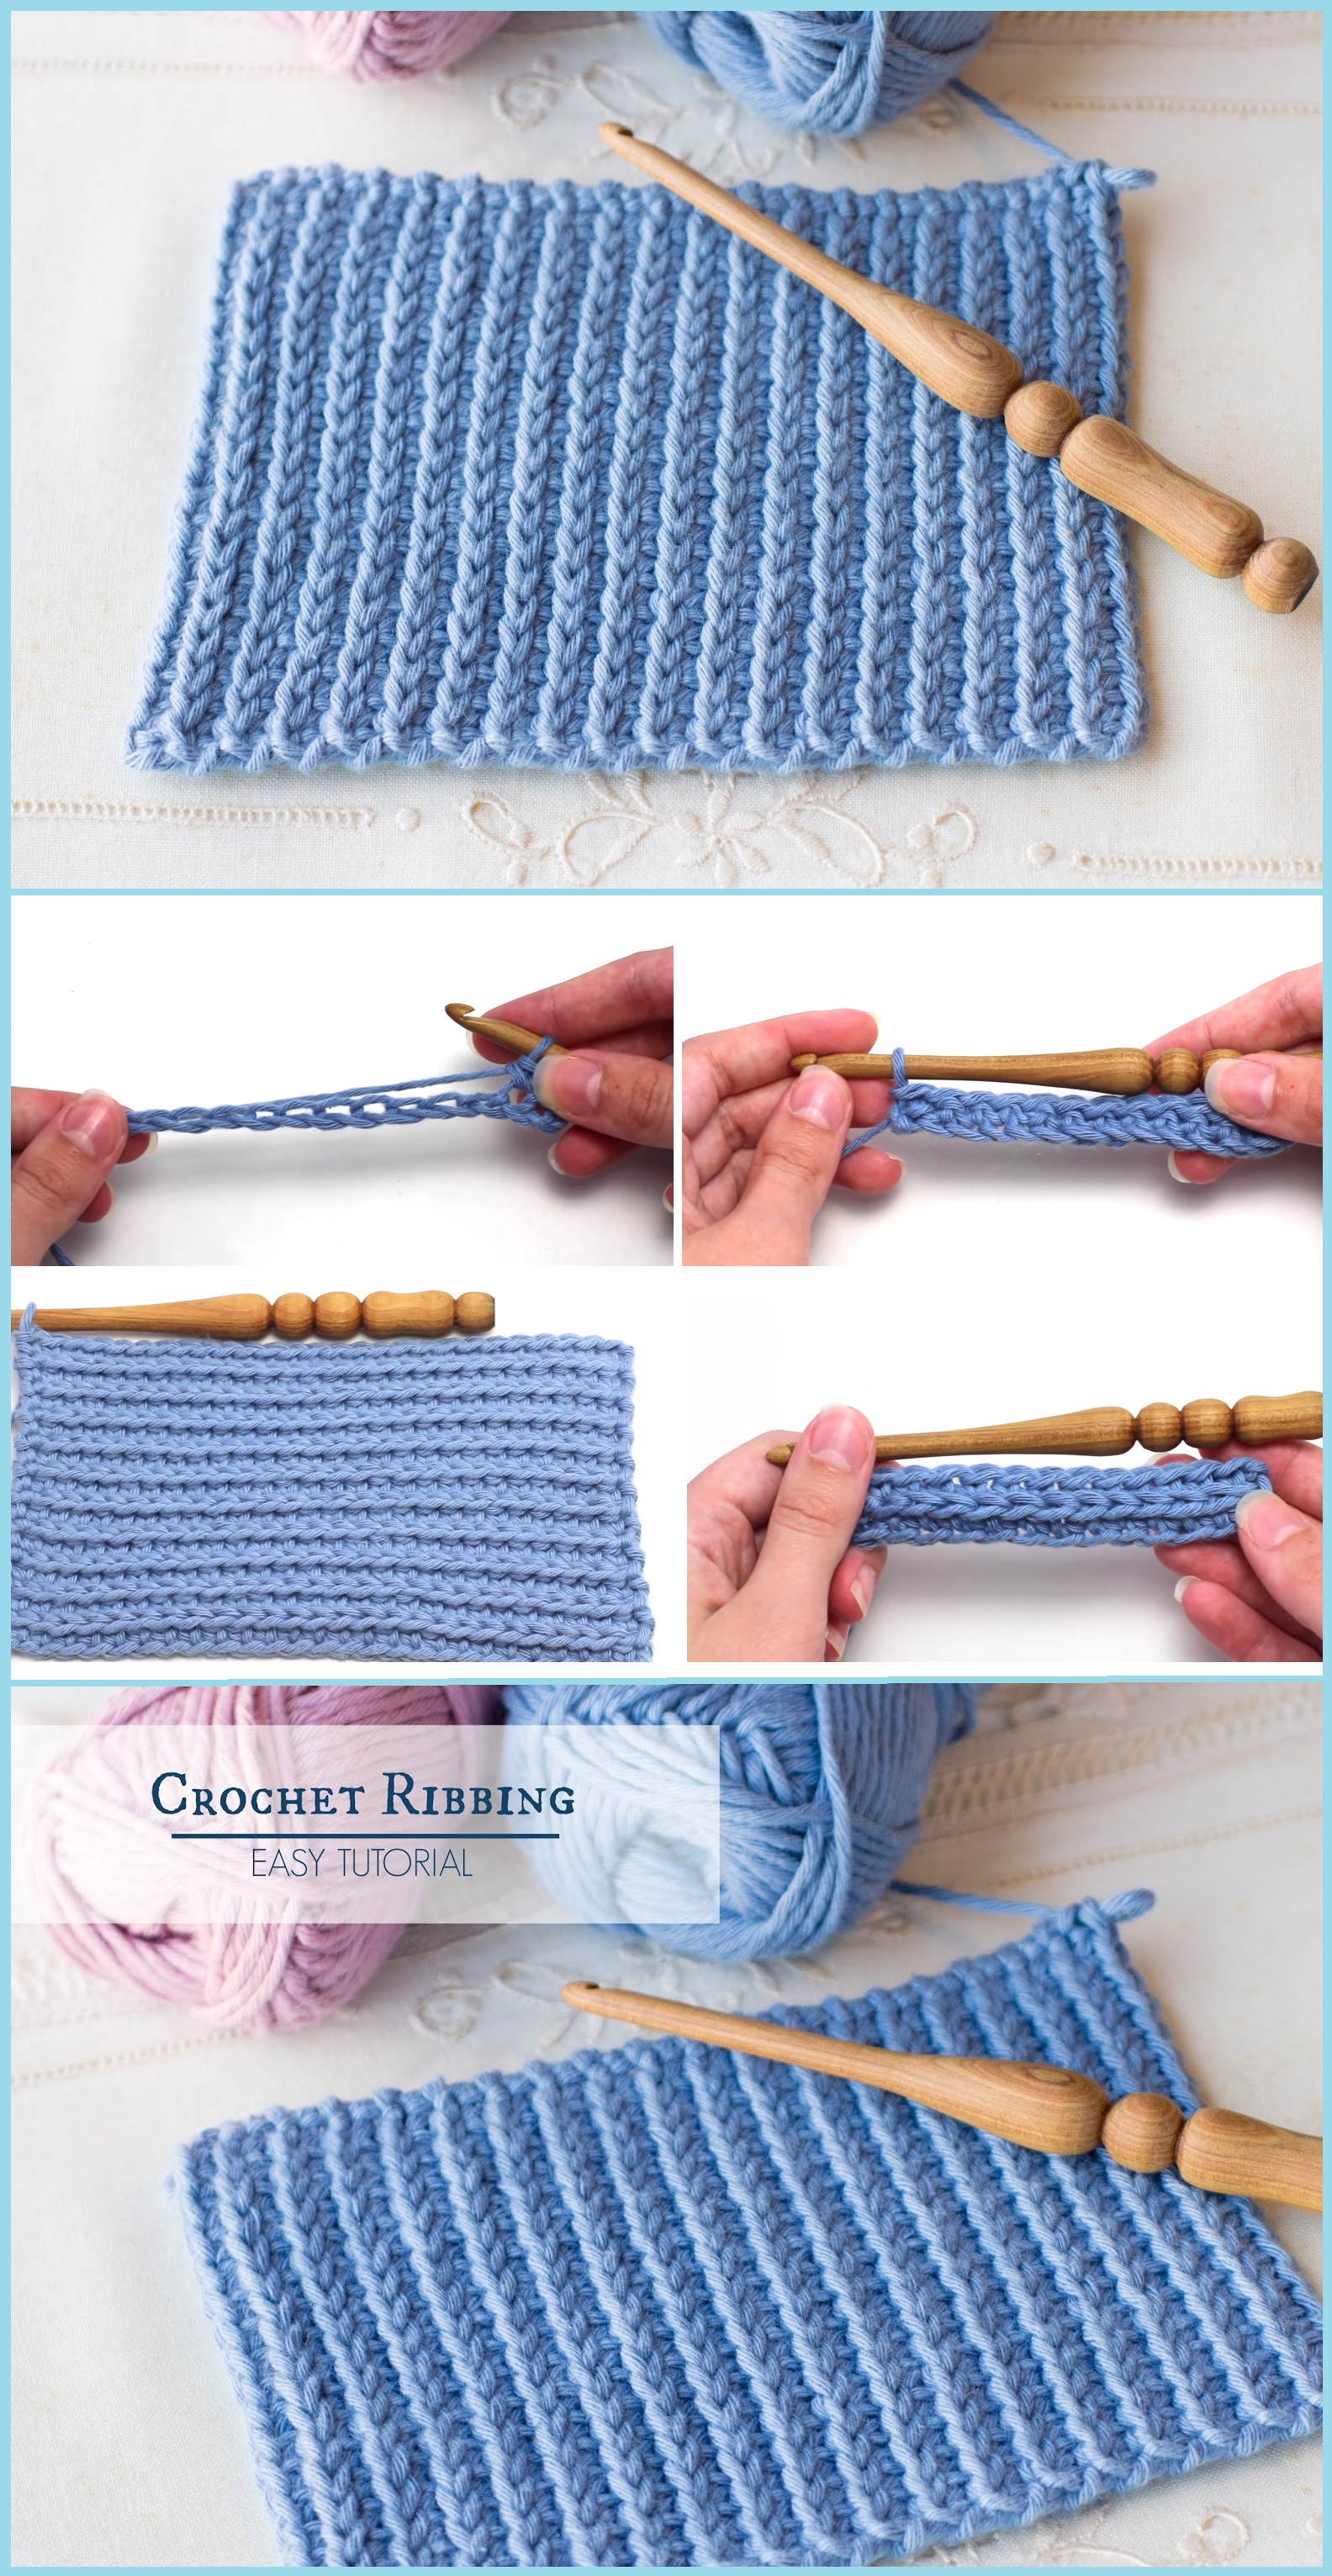
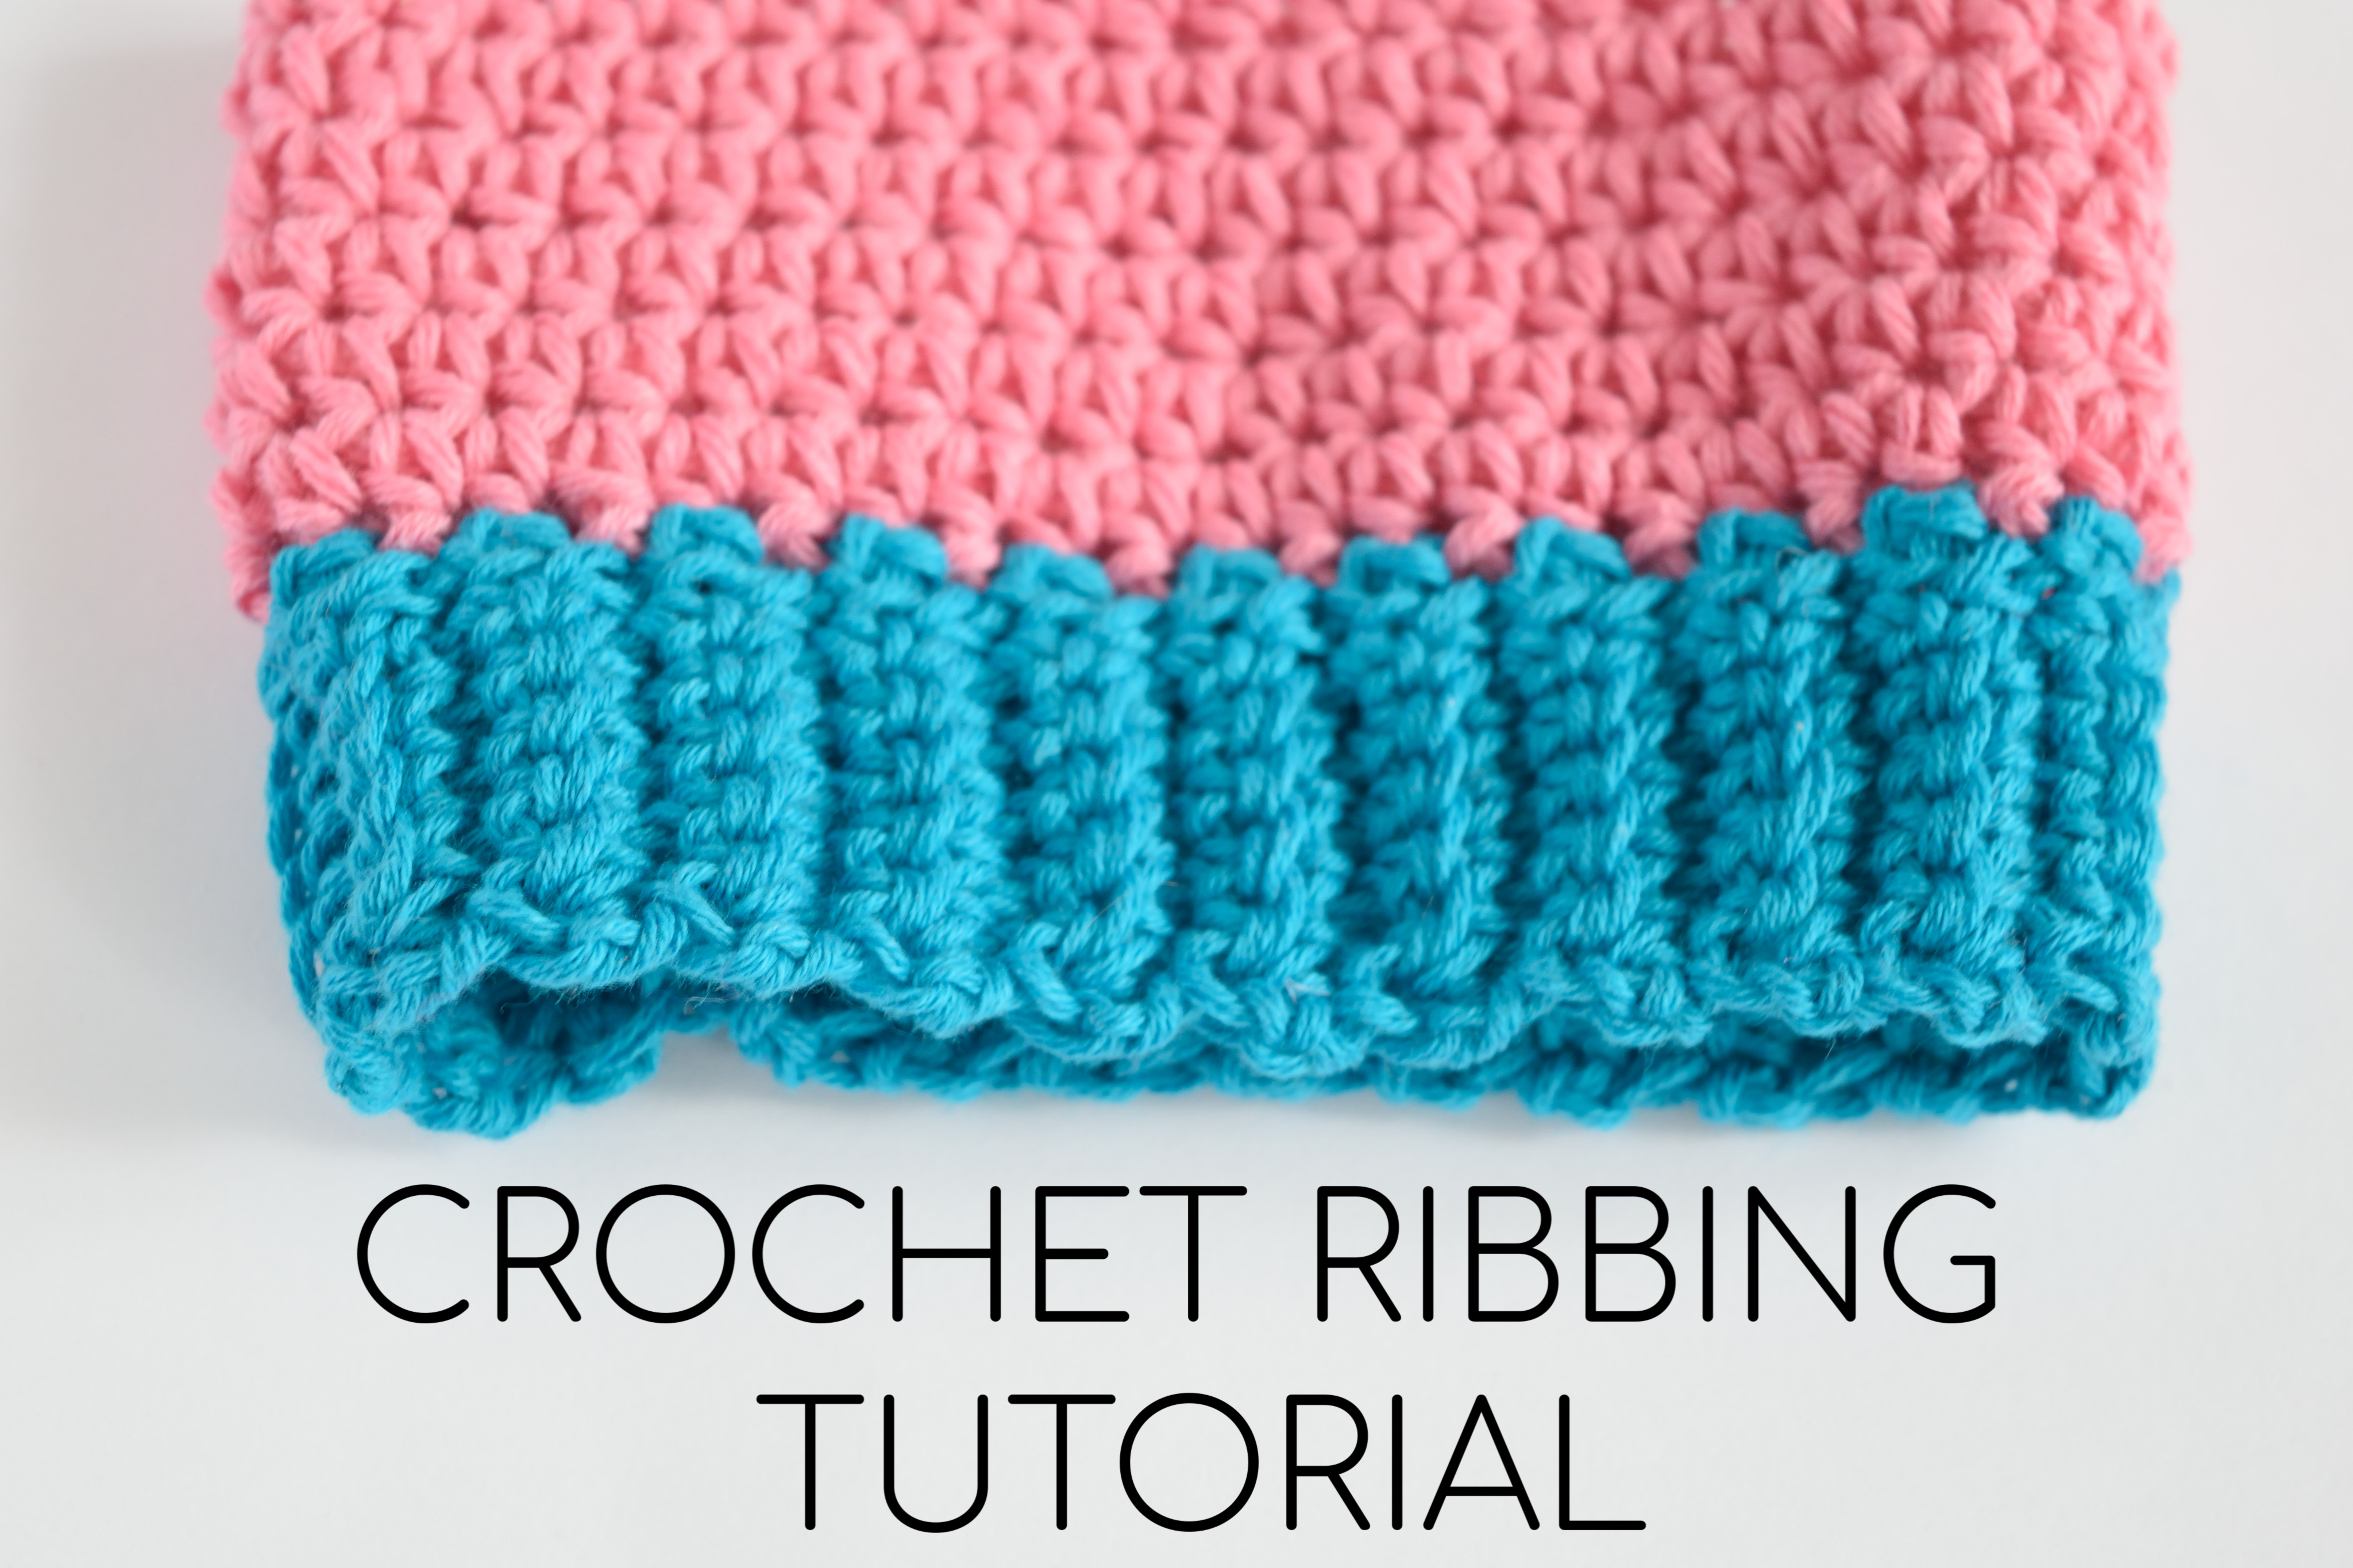
Crochet Ribbing Pattern - Work up this vest to wear on chilly spring and fall days. When you’re following a pattern, there will be instructions about which way round to do it. Today i wanted to share how to do this crocheted rib stitch that's super stretchy and perfect for so many projects. Web for garments that include crochet ribbing, you can start with the ribbing, or finish with the ribbing. Web the amount of stretchiness will depend on your yarn, crochet hook size and personal tension. See the written patterns and tutorial videos below. 1 dc in the fourth ch from the hook, 1 dc into each ch across, turn. The ‘thickness’ of the ribbing depends on the kind of stitch we choose to do it with, but remember that you can use any basic crochet stitch for that. From left to right, the swatch below includes rows of double. Start with a multiple of 2 for your starting ch row 1: When you’re following a pattern, there will be instructions about which way round to do it. Web rib stitch pattern (written tutorial) to begin: Half double crochet (hdc) is one more step than single crochet (sc), and one less step than double crochet (dc). Decorative ribbing simply looks pretty whereas functional ribbing is added to a project with a design related purpose in mind; Crochet ribbed vest pattern by madebyasya. 15 sts & 11 rows equal to 2″ with 3.5mm crochet hook in sc blo. I've always made my crochet ribbing by crocheting through the back loop whether i'm using single crochet or half double crochet stitches. Web you can find full details for this variation in the pattern. Ch x (even number) of chain, dc in third chain from hook, dc in all chains until end, ch 2, turn It would look cute paired with jeans, slacks, skirts, or shorts. When i use a worsted weight yarn i prefer to use half double crochets for ribbing, but when i am crocheting with a bulkier yarn i tend to go for the single crochet ribbing option, but either option works. I generally like to do a normal sc into both loops (v's) for the last stitch of the rows (as opposed. Learn how to crochet ribbing: Chain 6 plus turning chain. You’ll use both methods of working single crochet ribbing for this pattern (starting the hem and cuffs with sc rib, and adding sc to the collar after the body is crocheted). This version has the appearance of a wider rib than the single crochet ribbing. Ch 2 (counts as the. Start with a multiple of 2 for your starting ch row 1: Web rib stitch pattern (written tutorial) to begin: For projects you’re designing yourself or freestyling as you go (like my granny square cardigan!) you’ll need to make your own choice. It would look cute paired with jeans, slacks, skirts, or shorts. I've always made my crochet ribbing by. Web flip your work around so you can crochet the rib pattern back down the chain. The ‘thickness’ of the ribbing depends on the kind of stitch we choose to do it with, but remember that you can use any basic crochet stitch for that. Web the amount of stretchiness will depend on your yarn, crochet hook size and personal. The way i see it, ribbed stitches in crochet can fall into two main categories (and where they fall into both is the sweet spot!): There are many free tutorials for ribbing, but in the photo below you can. Web learn how to crochet ribbing and add beautiful and stretchy texture to your projects. 15 sts & 11 rows equal. The way i see it, ribbed stitches in crochet can fall into two main categories (and where they fall into both is the sweet spot!): The basic sweater vest can be worn over a blouse or alone. Sc in 2nd ch from hook and in each stitch across, ch 1, turn. I’m really glad you enjoyed the tutorial 🙂 for. Decorative ribbing simply looks pretty whereas functional ribbing is added to a project with a design related purpose in mind; I generally like to do a normal sc into both loops (v's) for the last stitch of the rows (as opposed to in the back loop only) to give a neater finish on the edges of my work.don't make this. Crochet ribbed vest pattern by madebyasya. Web to create the ribbing keep alternating a fpdc and a bpdc. Create your foundation chain using chains or foundation single crochet row using this tutorial. Web you’ll also find crochet ribbing on the sleeve cuffs and collar. The most commonly used crochet ribbing is made with single crochet stitches. Web to create the ribbing keep alternating a fpdc and a bpdc. Ch x (even number) of chain, dc in third chain from hook, dc in all chains until end, ch 2, turn Web crochet ribbing video tutorial. Right handed crochet rib stitch tutorial: To get a hat to stay on one’s head for. See the written patterns and tutorial videos below. The crochet ribbing pattern is written using usa crochet terms. It would look cute paired with jeans, slacks, skirts, or shorts. Half double crochet (hdc) is one more step than single crochet (sc), and one less step than double crochet (dc). There are two basic ways to create ribbing, and they are. Each of the different styles is timed stamped so you can watch them all or jump right to the one you prefer. I generally like to do a normal sc into both loops (v's) for the last stitch of the rows (as opposed to in the back loop only) to give a neater finish on the edges of my work.don't make this last stitch too tight though so you don't reduce your stretch too much. The way i see it, ribbed stitches in crochet can fall into two main categories (and where they fall into both is the sweet spot!): Web you can find full details for this variation in the pattern. Now you can create that same look and function on your crochet projects. I've always made my crochet ribbing by crocheting through the back loop whether i'm using single crochet or half double crochet stitches. 1 dc in the fourth ch from the hook, 1 dc into each ch across, turn. Start with a multiple of 2 for your starting ch row 1: From left to right, the swatch below includes rows of double. For the written pattern, a step by step photo tutorial and video tutorial for this simple stretchy crochet ribbing check out this hat brim tutorial. This version has the appearance of a wider rib than the single crochet ribbing. See the written patterns and tutorial videos below. Web crochet ribbing video tutorial. There are many free tutorials for ribbing, but in the photo below you can. Starting with 2nd chain from hook, work 1 sc in each ch back to edge of your project.join to the next st of the edge of your project using sl st and work one more sl st in the next st of your project (2 sl sts in total for joining) plus make ch1. Forget about rigid and lifeless fabric;
How to crochet ribbing MyCrochetory Easy crochet hat patterns

A directory of crochet rib stitch patterns and ribbing techniques

Single Crochet Ribbing (Easy Tutorial) love. life. yarn.

A directory of crochet rib stitch patterns and ribbing techniques
Crochet Ribbing Tutorial With 10 Patterns To Try Crochet News

Simple Ribbed Crochet Blanket Border (Easy Tutorial) love. life. yarn.
Crochet Ribbing Tutorial Tutorials & More

How to crochet ribbing using post stitches Dora Does
Crochet Ribbing Tutorial *Video Tutorial & Pattern Ideas* YouTube
Tutorials Archives MyCrochetory
To Get A Hat To Stay On One’s Head For.
Skip A Stitch, Scblo Into The Next 19 Ch Sts, Sc In Last Stitch, Turn (20) Note:
Sc In 2Nd Ch From Hook And In Each Stitch Across, Ch 1, Turn.
15 Sts & 11 Rows Equal To 2″ With 3.5Mm Crochet Hook In Sc Blo.
Related Post: